

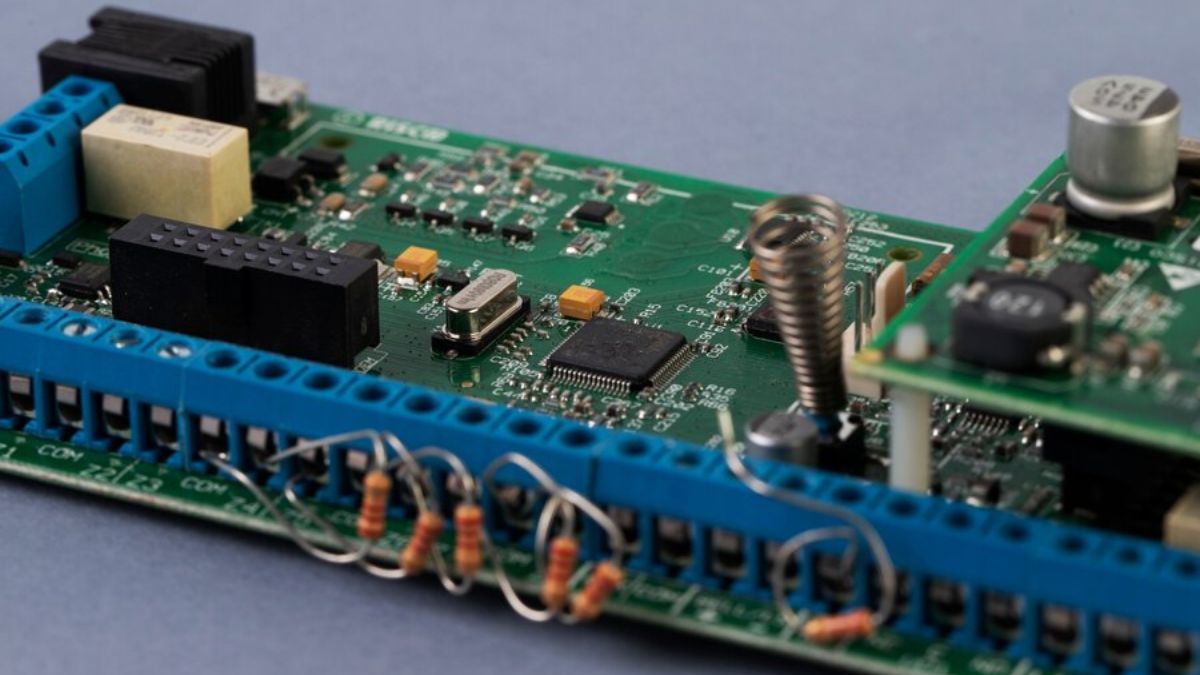
If you’re diving into the world of electronics, chances are you’ve come across the 4S0101 chip. This little powerhouse plays a crucial role in various applications, making it a favorite among hobbyists and professionals alike. However, like any component, it can run into some hiccups along the way. Whether you’re building your next project or troubleshooting an existing one, understanding common issues with the 4S0101 chip is essential for keeping things running smoothly. Let’s explore those pesky problems and equip you with effective solutions to ensure your projects shine!
Common Issues and Their Causes
The 4S0101 chip is a reliable component, but it can encounter several common issues.
One frequent problem users face is overheating. This often results from inadequate cooling or excessive current draw during operation.
Connection problems also arise periodically. These can stem from poor soldering techniques, damaged traces on the PCB, or even faulty connectors disrupting communication.
Another concern involves malfunctioning inputs and outputs. This could be due to incorrect voltage levels being supplied or short circuits that affect signal integrity.
Identifying these issues early can save time and prevent further damage to the chip. Understanding their causes helps in implementing effective troubleshooting measures down the line.
Troubleshooting Steps for Overheating
Overheating in the 4S0101 chip can lead to significant performance issues. First, ensure that the chip is properly installed with adequate airflow around it. A cramped space can trap heat and cause problems.
Check your power supply next. An inconsistent voltage level might push the chip beyond its limits, leading to overheating. Use a multimeter to verify that everything is within safe parameters.
Additionally, inspect for any visible damage or defects on the chip itself. Burn marks or discoloration are clear signs of thermal stress.
If you’re still facing issues, consider adding heatsinks or fans to enhance cooling efficiency. These components help dissipate heat more effectively.
Keep an eye on ambient temperatures where your device operates. High room temperatures can contribute significantly to overheating concerns with electronic components like the 4S0101 chip.
Troubleshooting Steps for Connection Problems
Connection problems with the 4S0101 chip can be frustrating. Start by checking all your wiring. Loose connections are often the culprit.
Ensure that power supply voltages meet specifications. An inadequate voltage can lead to erratic behavior or no response at all.
Inspect solder joints for any signs of cold soldering or bridging issues. A thorough visual inspection might reveal hidden problems.
Use a multimeter to test continuity across connections. This step confirms whether signals are reaching their intended destinations without interruption.
Don’t forget about software conflicts, too. Ensure that firmware is updated and compatible with your setup.
If you’re still facing issues, consider swapping out components one by one to isolate the problem effectively. Sometimes, it’s just a matter of pinpointing where things go awry in your circuit design.
Troubleshooting Steps for Malfunctioning Inputs or Outputs
When dealing with malfunctioning inputs or outputs on the 4S0101 chip, start by checking your connections. Loose wires can easily disrupt signal flow. Ensure everything is securely attached.
Next, examine the configuration settings in your software. Incorrect parameters might be causing communication issues between the chip and other components.
If you’ve ruled out hardware problems and settings, consider testing each input and output individually. This helps identify if a specific pin is failing or if there’s a more systemic issue at play.
Using an oscilloscope can provide insight into what signals are present at each pin. It’s a great tool for visualizing whether data is being transmitted as expected.
Don’t forget to reset the chip. A simple power cycle may resolve any temporary glitches affecting performance.
Other Helpful Tips for Maintaining the 4S0101 Chip
To keep your 4S0101 chip functioning optimally, regular inspection is essential. Check for any signs of physical damage or corrosion on the pins and surrounding circuitry. A clean environment can significantly extend the lifespan of your chip.
Proper power supply management is also crucial. Ensure that voltage levels are within specifications to avoid stress on the component. Using a regulated power source will help maintain stability.
Adequate heat dissipation should not be overlooked. If you notice excessive heating during operation, consider adding heatsinks or fans to enhance airflow around the chip.
Always follow manufacturer guidelines when implementing changes or upgrades in your circuit design. Staying informed about best practices ensures longevity and reliability for your 4S0101 chip in various applications.
Conclusion
Maintaining the performance of your 4S0101 chip is crucial for optimal operation. Understanding common issues and their causes can save you time and effort in troubleshooting. Whether you’re dealing with overheating, connection problems, or input/output malfunctions, following the specific steps provided can help restore functionality.
Regular maintenance plays a vital role as well. By ensuring clean connections and proper ventilation, you can extend the life of your chip. Keep an eye on environmental factors too; humidity and dust accumulation can lead to unexpected issues.
Being proactive rather than reactive will set you up for success with your 4S0101 chip. With these insights, you’ll be better equipped to handle any challenges that come your way. Stay informed and keep experimenting!